With time, the solar lights installed in your home will require maintenance. These maintenance activities include cleaning the lights, replacing corrosive batteries, and restoring the panels to look as good as new. Cleaning your solar lights is very important if you want to keep them functioning optimally. Thankfully, solar systems are low-maintenance, but they still require your little input now and then.
Before diving into the methods mentioned above, you should know what to do before cleaning your solar system.
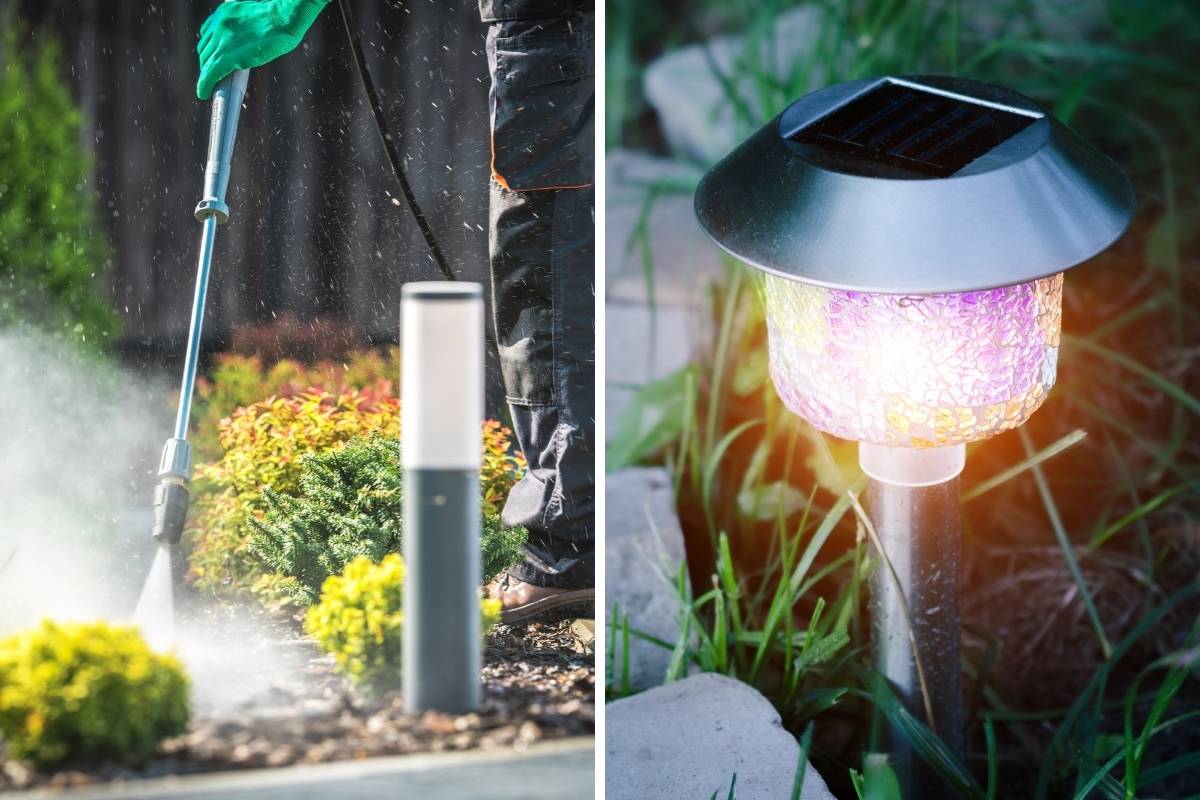
Pre-Cleaning Tips for your Solar Lights
Ensure you carry out the following before you put your cleaning agents to work:
- First things first, switch off your solar system.
- Inspect your solar lights for loose debris. If you see any, you should wipe them off your panels with a damp cloth or sponge before the actual washing. This makes the cleaning process quicker and less tasking.
- Avoid using strong cleansing agents because they’re made of harsh chemicals. Solar lights are easy to clean, so opting for strong soaps or detergents is not just unnecessary. It’s also bad for your panels.
- You may not need to clean your lights and panels during the rainy season because rainwater will wash away most of the dirt. You should leave this activity for the dry season.
Now, to the gist of the article.
Ways to Clean your Solar Lights
Phase 1: Using a Mild Cleansing Agent and Soft Fabric
The initial cleaning was done mainly to reduce the amount of dirt on your solar lights.
- Get a little amount of dishwashing liquid and mix it with water.
- Then get a soft cloth, preferably an old cloth, since a long period of use and wear will soften its material. We recommend cotton fabric.
- Test this fabric on a surface, for instance, your window, to see if it will leave anything behind. If it does, discard it and look for another cloth. You can use it to clean your solar panels and lights if it doesn’t.
- If you’re using a sponge for this, ensure you use the smooth side.
Phase 2: Reclean the Lights with Water
- To ensure there are no traces of soap that may later form soap scum and impair the function of your solar lights, dampen a paper towel or clean cloth.
- Wipe off the remaining soap from your solar lights till all traces are gone.
- To ensure, you can pour water on the surface of the light bulbs. Just take care not to let it touch the wiring.
- Repeat phases 1 and 2 once in about three months. However, if you stay in areas with a lot of dust, you may need to do this monthly or whenever you notice a coating of dust on your outdoor solar lights.
Phase 3: Panel Restoration
After some time, your panel’s appearance will deteriorate. Restoring its look is part of the activities that come with cleaning solar lights. Restoring its look also ensures that it functions optimally.
- Get painting tape and cover the plastic sides of your solar light to protect it from stains. Using the tape also helps to highlight the panel’s borders. Ensure you cover every plastic surface area with tape. We recommend painting tape because it’s easier to remove and doesn’t leave adhesive residue behind.
- Dampen with soapy water and wash off the debris on your panel. Ensure you scrub the top surface thoroughly to get rid of any grime.
- Get a clean cloth and dampen it with water when you’re done. Then use it to wipe off the panels thoroughly.
- If your panel is clean but looking faded, get a can of lacquer, shake it properly, hold it about 6 inches apart from the panel, and spray a thin coating on your panel to rejuvenate its look. Ensure that you’re moving the can across the panel while spraying so that some parts don’t have more lacquer than others.
- Leave the lacquer for about 30 minutes to dry adequately before removing the painting tape.
- If the panel still looks faded, spray a second coating and wait for another half hour before removing the tape.
Phase 4: Cleaning Corroded Spots
Check the battery compartment of your solar lights. If you notice whitish spots on the battery terminals and the batteries, there’s corrosion.
- Wear gloves and goggles. Take out the batteries. Discard them if they are not solar batteries.
- Get a bottle of vinegar, apply very small drops on the battery terminals and the batteries (only solar batteries), and give the liquid 60 seconds to neutralize and dissolve the corrosion.
- To avoid using too much vinegar, dip a cloth into the bottle and use it instead.
- Get a hard toothbrush and scrub the spots in a clockwise motion. If this doesn’t work or still leaves some corrosion, get fine-grit sandpaper and scrub those spots in the same manner as you did with the toothbrush.
- If you don’t use solar batteries, get a pair and put them in the battery compartment. Switch your lights on.
Cleaning your solar lights is not as complicated as people think. It’s an essential process if you want to maintain your solar lights and keep them in good working condition indefinitely. Fortunately, solar lights are low-maintenance, and corrosion in the battery compartment is less likely if you use solar batteries.